|
The following is a 'step-by-step' guide for installing or upgrading options on a Reliable Power Meters' Power Recorder, MultiPoint, or InSite. You may be making serious changes to the set-up of the unit and it would be prudent to ensure that all required data be downloaded before proceeding with this operation. Please note this is required when installing the TCP/IP option for using either a Netgear Analogue Router (RM356) or Webramp 310e, or when communications between the Power Recorder and monitoring PC need to be TCP/IP. It is suggested you consult your IT department if connecting your PR to your LAN-WAN system. |
Step 1
|
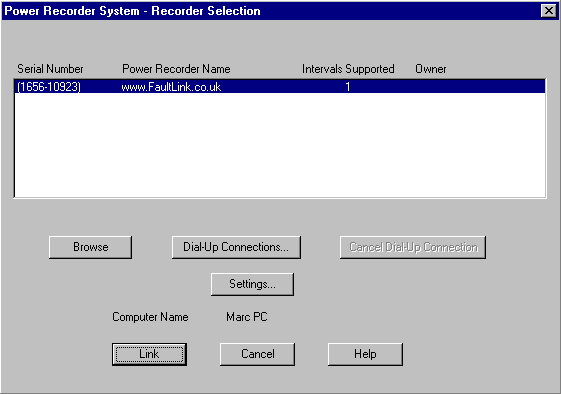
Step 2Within a short while a screen similar to the one shown below will appear.
Click on the "Link" button. |
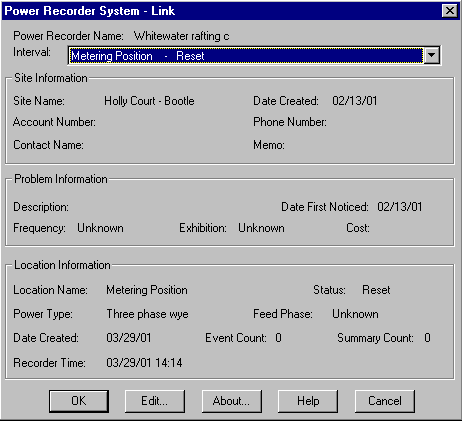
Step 3The following screen is shown.
This can be bypassed by clicking on "OK". |
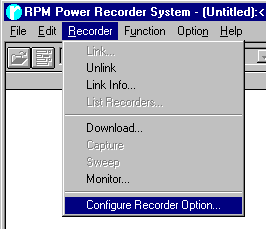
Step 4Next, click on "Recorder" and select "Configure Recorder Option".
|
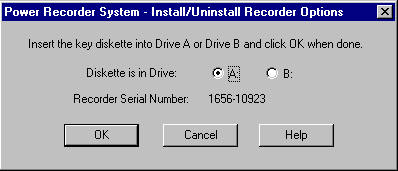
Step 5The file ("Ompropt.key") must be on a diskette. If this file was emailed to you then you will need to save it to a diskette for use here. Select the drive containing the diskette and click on "OK".
|
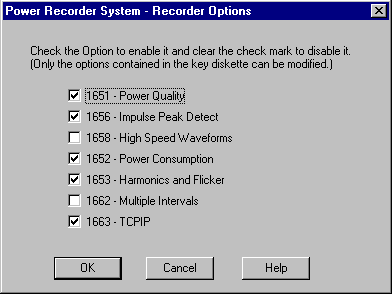
Step 6You will be presented with a screen similar to the one shown below. It is possible to select any of the options you have paid for. Note: Items not checked will not be installed or enabled, and any options previously installed and not checked will be disabled e.g. For TCP/IP to work the option 1663 must be checked.
When done, click on "OK". |
Step 7Certain options or upgrades make serious changes to the set-up of the Power Recorder and a warning screen similar to the following may displayed. Before clicking on "Yes", it may be a prudent time to again mention that any data recorded by the recorder is lost at this point. Everything is reset to defaults. Please ensure that you have downloaded any relevant data before executing this stage.
If you are happy about losing all your data, click on "Yes". |
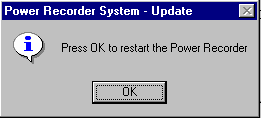
Step 8This stage may appear strange but what it is actually trying to tell you is that it's soon time to go for a cup of coffee.
Click on "OK" |
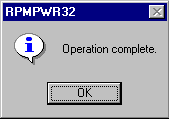
Step 9The options are written to the Power Recorder, and when complete the following screen is displayed.
Click on "OK". |
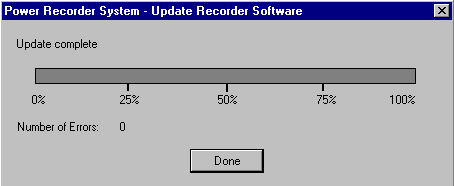
Step 10You will now see the updating begin. Leave everything alone. Don't try to speed things up, you'll simply crash your system. Things are happening! This operation takes a few minutes, enough time to go and grab that well deserved cuppa. There may be times when it will appear as if everything has frozen........ it hasn't. Simply wait until the following is displayed.
When you see the "Done" button click on it and the Power Recorder now has the new options installed. Please note: The Recorder will now be performing a disk reorganisation process and must be left alone for 30 minutes. If you have upgraded to TCP/IP you will need to set the addresses etc. as shown in this document If there are any questions please email NOTE: This webpage does not form part of any official documentation. |
© M.T.P. - 14.09.01 |
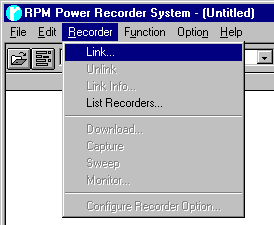 Start the process by linking to the recorder to be upgraded, this done by clicking on "Recorder" and then "Link" as shown alongside.